Showing posts with label tips. Show all posts

Friday, 5 September 2014

Tools and finishes.

I love getting new tools to play with.

Recently I invested in some new polishes to give my jewellery an extra high shine finish with (hopefully) a little less mess than the standard rouge polish I normally use.

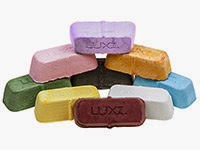
I got the luxi range (mainly because they were doing a starter pack on Cookson) and I'm so glad I did; they are great to use. Because they are water soluble, they clean up so much more easily than rouge. Definitely one to continue using!


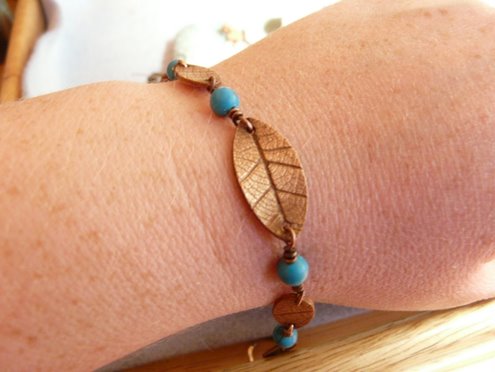
But just as exciting as the ridiculously shiny shine appearing on lots of my goodies, is the satin finish i'm playing with too.

There's something very lovely about the soft matt shine you can achieve on silver, that satin finish. In the past I've used a very fine sandpaper or wire wool to put the sheen on the metal. But I splashed out on a couple of fancy tools for my pendant motor, and am loving the finish that I'm able to achieve. A scotchbrite attachment is great for a very subtle effect, but I've found the finish isn't particularly hardy. The other option is a flick wheel....


It sounds a bit violent, looks a bit scary and is also pretty expensive, so I've put off buying one for a while, but I'm glad I made the investment.


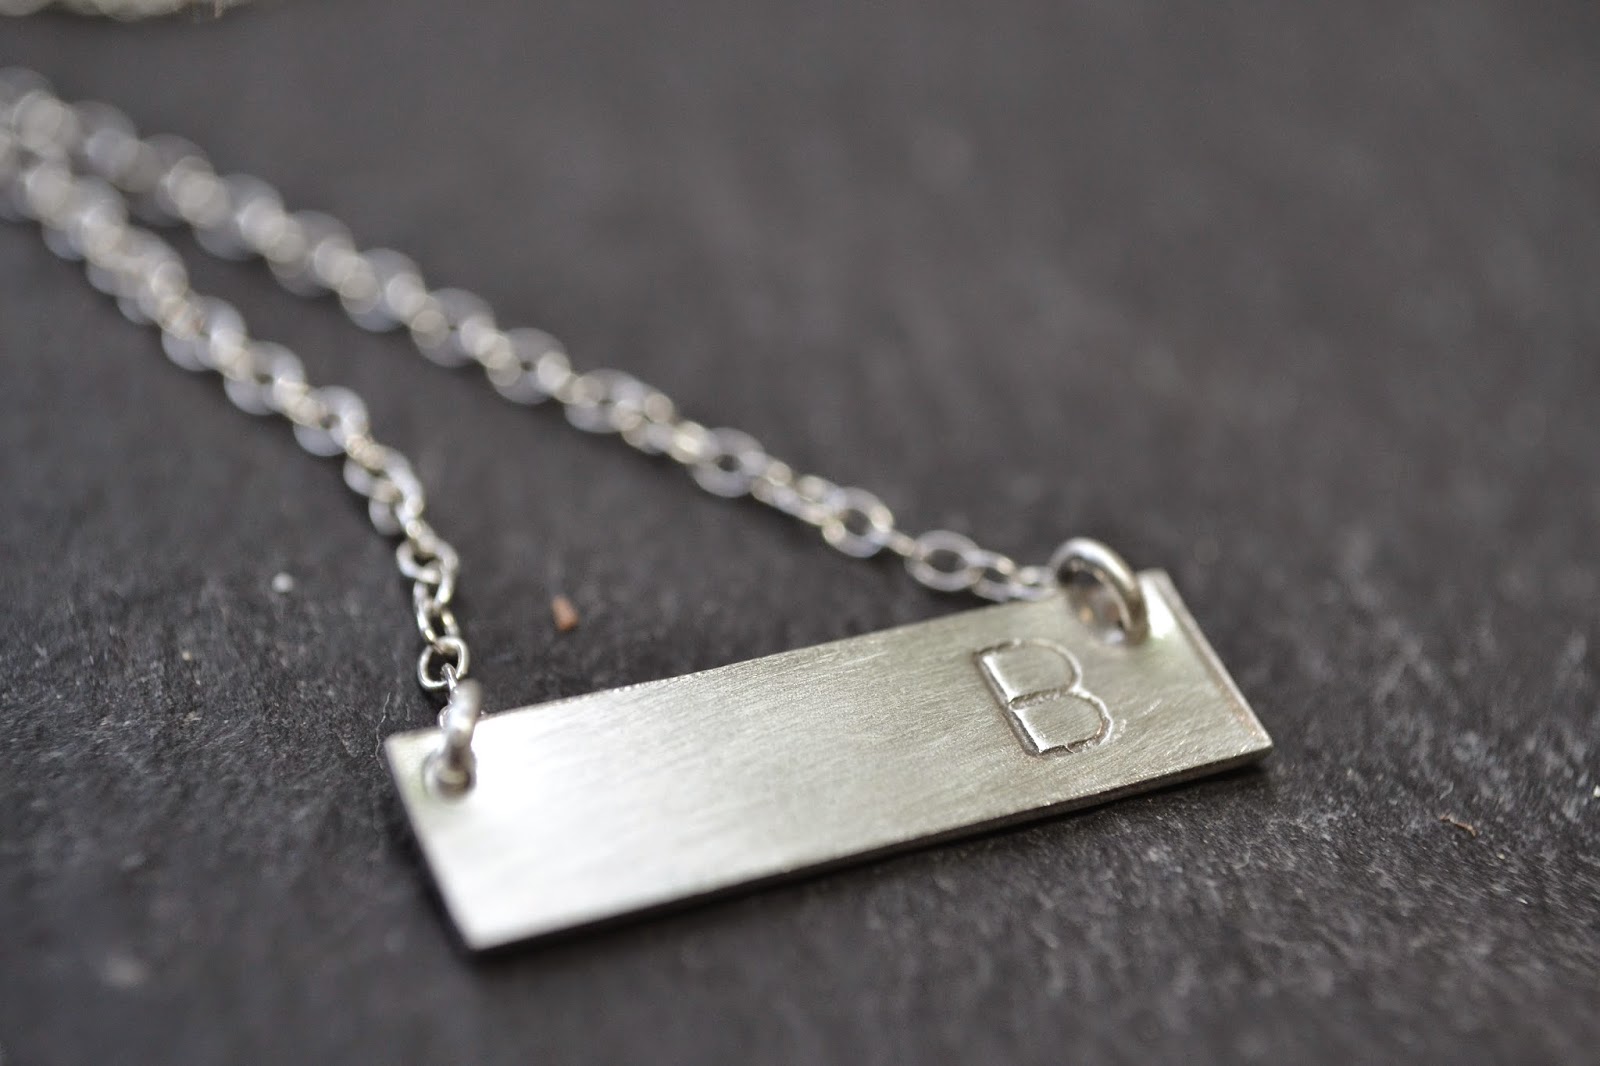
(high shine finish - initial pendant)


(satin finish initial pendant)

What finish do you prefer? I think I'm still undecided.

Thursday, 4 August 2011

Tip Share - Adding a texture

At the same time as getting a new camera, I splashed out on Photoshop Elements. Elements is the cheaper, cut down version of Photoshop but seems to do everything I need (and more).

In case it's helpful, before that I was using Picassa which was fine, and free - I'd definitely recommend it.

Elements is great though, and I'm having loads of fun trying out new ways to edit my photos, while I'm learning I thought I'd put a few tip shares on the blog, in case they are any use to others.... (and make a good reference for me when I forget what on earth I'm supposed to do!). I'm not saying this is the correct way to do this, I have no idea, I'm just playing, and sharing what I learn. If I find out that I'm doing it completely wrong, I'll come back and edit this post.

Anyway, here's a photo I took at the fair recently.....


To add a texture to this all I did was open a new layer, by clicking on the layer heading, and then the "new layer" option.

You can then change the name on these layers by double clicking on them in the layer box in the lower right hand corner of the screen. Probably a useful habit to get into, as if you start making a lot of layers it can get confusing! Call the new layer "texture".

Then highlight the "texture layer", and go and find the texture you're going to use.

There are lots of free textures to be found on flickr or just google "free textures"

Here's a link to get you started...

http://www.photoshoproadmap.com/Photoshop-blog/2008/11/30/60-impressive-free-high-resolution-textures-and-backgrounds/

I chose this one.. http://www.flickr.com/photos/emeraldrose/2832585353/sizes/l/

Once you have your texture, right click and copy it. Then go back to Photoshop elements, and Edit>Paste it on the new texture layer... Just double check that the texture layer is highlighted before you paste, or else it'll cover the image!

Next just stretch out the texture by grabbing each edge. Stretch it right over the original picture until you can't see it anymore.

Once you've done that, see the  "opacity" button, just above the layer section on the right hand side. If you click on that a slider appears. For this one I slid it down to 40%


Then I flatten the image, by going into the layer menu, and choosing Flatten image, to keep all the layers together.

Hey presto - done!

And here's the finished picture...


What do you think?


Monday, 9 August 2010

Macro is my friend

The sun finally came out over the weekend, and I decided to take some pictures of my newest jewellery makes so I could finally load it up in the shops. ( I have been slacking!)

You all know already that photos are vital if you want to sell anything online, and with jewellery in particular you really need a great photo that picks up all the detail, and colour of the item.

You might remember me playing with my camera a few months ago here and here; I realised then that just taking 5 minutes to play with the settings on my camera made all the difference. This weekend I played around with the Macro button.

 Don't get me wrong, I use macro, I often use macro - honest! But I don't always, and wasn't really sure what difference if any it really made.

Basically, all you need to do is press the macro button, which usually has a flower on it (see above!), and the computer moves the lens around to focus really close up on an object - which could even be just inches away. 

So here are the results of my very complicated, and time consuming experiement (ahem) ok 30 seconds in the garden.

 With the macro

Without the macro

I've made the pictures bigger so you can really see the difference. You can really pick up all the detail with the macro function... can you see how the pattern of the middle part of flower is so much clearer, 

BUT just a couple of issues to bear in mind...

Shadows - as you get closer in, it's alot easier to cast a shadow over the object you are trying to photograph

Depth of field - as usual, you only get focus on a particular part of the photo, but with the macro button the area that is in focus is reduced. This means you have to be careful to get the focus covering the right area!

Flash - you can't usually use a flash in macro mode, because you're generally so close to the object that the flash wouldn't illuminate it properly.

But that's it - easy peasy! A brilliant excuse to go off and explore the world in close up... would love to see your macro shots if you have any....add a link in the comments below.

Tuesday, 27 July 2010

Copper creations

The very lovely Anna aka the bunny maker from Half an Acre recently sold me her old mini kiln. (Thank you Anna!!)

This was so exciting because not only can I now fire larger silver pieces; I can now play with copper and bronze clay. I've had some copper art clay for a while. Apparently you can torch fire it, but I wasn't that successful so I've just been looking at it, all wrapped up and looking sad on my shelf.

But now, with my kiln, I can actually make stuff with it.

Here is my first (of many) copper leaves with some of my huge turquoise bead stash.


Don't you just love how copper and turquoise go together.

Just need to get a clasp finished and then I'll probably list it.

The clasp has seen me experimenting with copper plating! It seems to be pretty much impossible to get copper solder, so I use silver. For this clasp I soldered together copper wire to make a toggle, but this meant that the silver solder looked a bit odd. Simple solution - add a spare nail or screw to the old copper pickle pot (where the pickle has turned a shade of blue), and watch it fizz and copper plate over the solder. FANTASTIC.(This is why you only usually use copper tongs in a pickle pot - to avoid accidental plating!)

Love trying new stuff, and using new material. Hope you like my new copper creations!!
src="http://www.linkwithin.com/pixel.png" alt="Related Posts with Thumbnails" style="border: 0" />