
The first part of making a ring was all about the ring shank, once that's done it's time to get the setting for the stone made and soldered onto the shank, and then set the stone.
In the first part I was showing you some rings I was making for Trudi, but then I forgot to take the photos of the setting part - DOH!
So here's a little london blue topaz ring I made for Cheryl. It's a square stone cabochon cut (called a cushion cut) - which means it's flat at the bottom and this one is facetted on top. This is one of my fave stones, so I've got one for me to keep too!
First of all, the bezel wire, which is fine silver needs to be measured out. It's soft and pliable so I usually just wrap it around the stone and make a mark, and cut it to size. Nothing too complicated or mathematical.


Then I make sure the bezel wire fits together nicely, file the edges to give it a nice straight line and solder it together.

(Do you know how tricky it is to take a photo of yourself soldering!! Must get an assistant next time!)
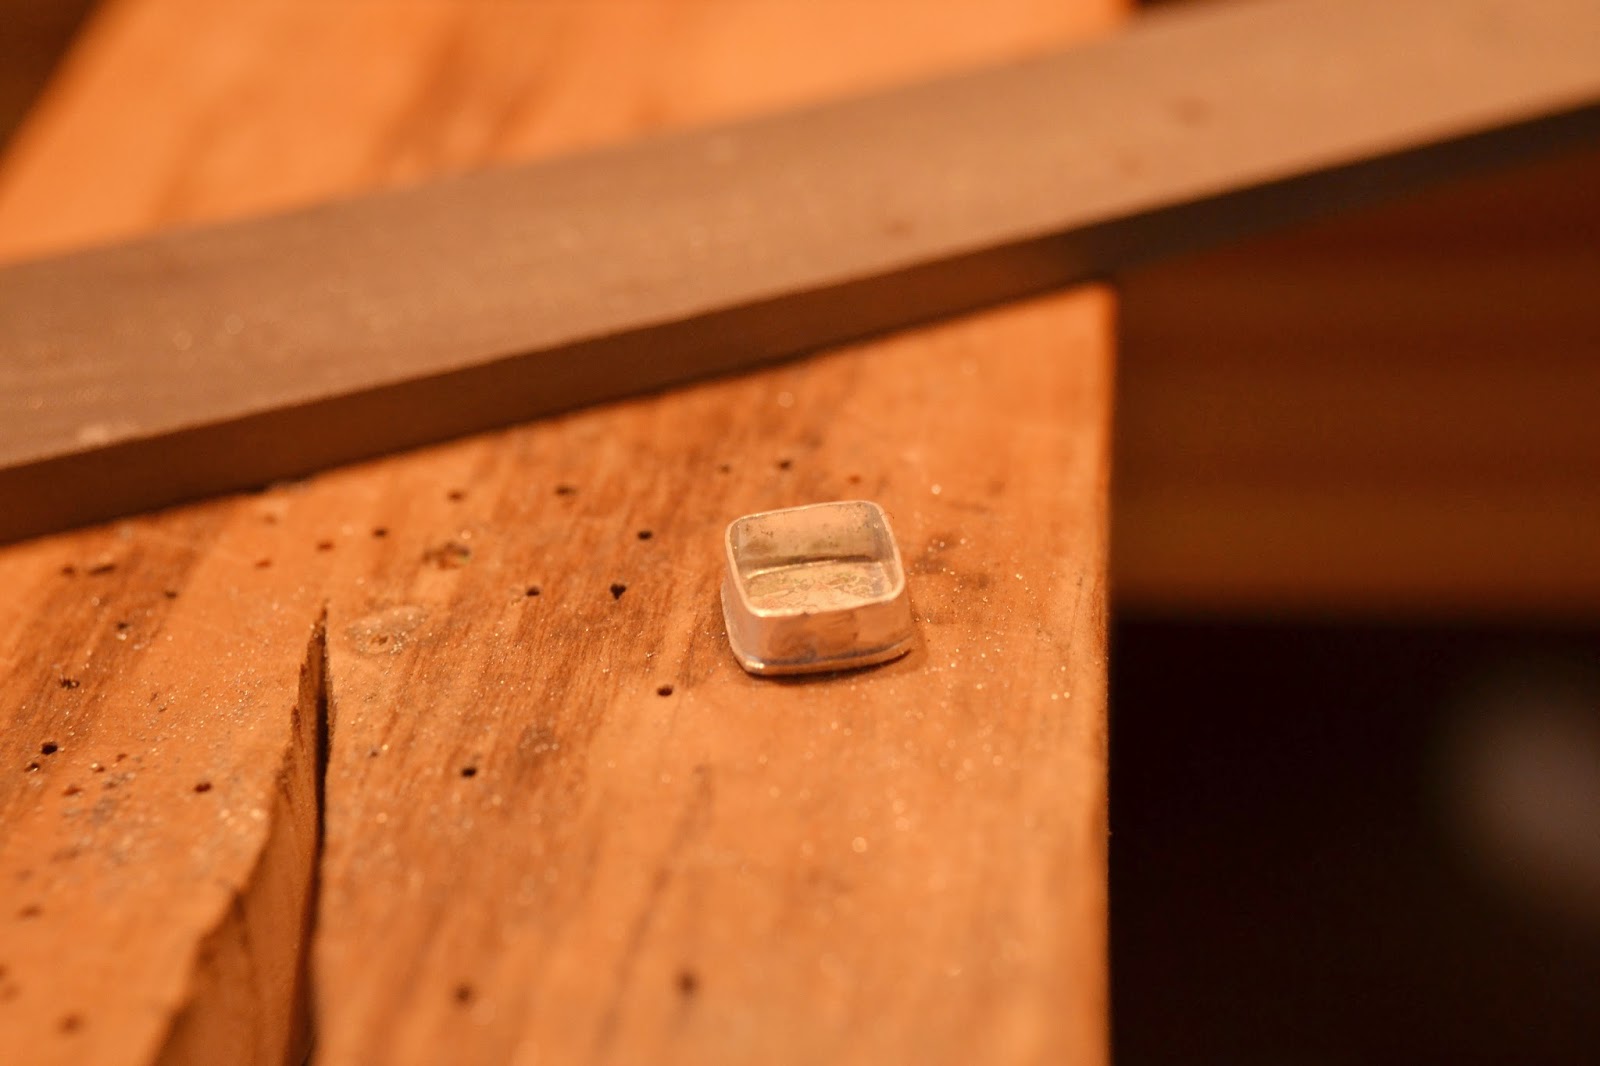
Then I check that the bezel wire is still a good fit for the stone, by fitting the stone into it. This also helps make sure the shape is correct before I cut out the base of sheet silver and solder the bezel wire to it.

(Here's the sheet of silver that I'm using for the base)

(And all soldered into place!)
As you can see the silver base sticks out a bit, so at the point I'll saw, or file it off (depending on how much there is). This extra silver goes into a little tub I have and will be recycled - often into little silver balls to add to designs.
For this setting I then cut the height of the bezel wire down to the right size. It needs to be high enough to keep the stone in securely, but low enough to show off the stone and look good. This can be fiddly! I measure using my digital callipers, and scribe a line in the correct place, then saw it off. Sometimes I'll cut the wire as the first stage - I've no idea which is the right way to do it!

Once it's cut to size, the edges need to be filed nice and smooth. Then it's time to solder onto the ring shank.
I file the shank a little in the place that the setting will sit to make sure there's a good fit between the two..


Then there's some pickling and cleaning up to be done. It's at this stage that all of the polishing should be done. I often use different grades of sanding paper, or rouge (which is a polishing compound). I've just bought some new polishing compounds that I might switch to in the future.
Then finally, I get to set the stone. The stone is pushed gently into place - it should be nice and snug. And then I use a bezel rocker to push the bezel wire over the stone to keep it in place. I finish by using smoothing the edges of the wire down. And it's all done. One stone set ring.

A bit of a disclaimer... I'm self taught and I'm definitely not saying that this is the correct way to do it. It's just the way I do it. And I know lots of you are interested in how things are made, so thought this might be of interest. The whole ring from start to finish can take hours and hours to make; as you can see there are lots of fiddly stages and things don't always go to plan!


